


Many homeowners know their lighting could be better, but the idea of changing every fixture at once feels overwhelming. Instead of tackling the whole house, a one-room-at-a-time plan lets you see quick wins, spread out the cost, and make smarter choices as you go.
This guide gives you a simple, step-by-step lighting upgrade plan that fits into real life. You can use it in any order, but most people see the biggest impact by starting with the rooms they use every day.
Step 1: Set A Simple Lighting Goal For Your Home
Before changing bulbs and fixtures, decide what you want from your lighting overall. Ask yourself:
- Do I want brighter, cleaner light for tasks?
- Do I want softer light at night for relaxing?
- Do I want a more modern and consistent look from room to room?
Pick one or two main goals. You will use them as a filter for each room so your choices line up across the house.
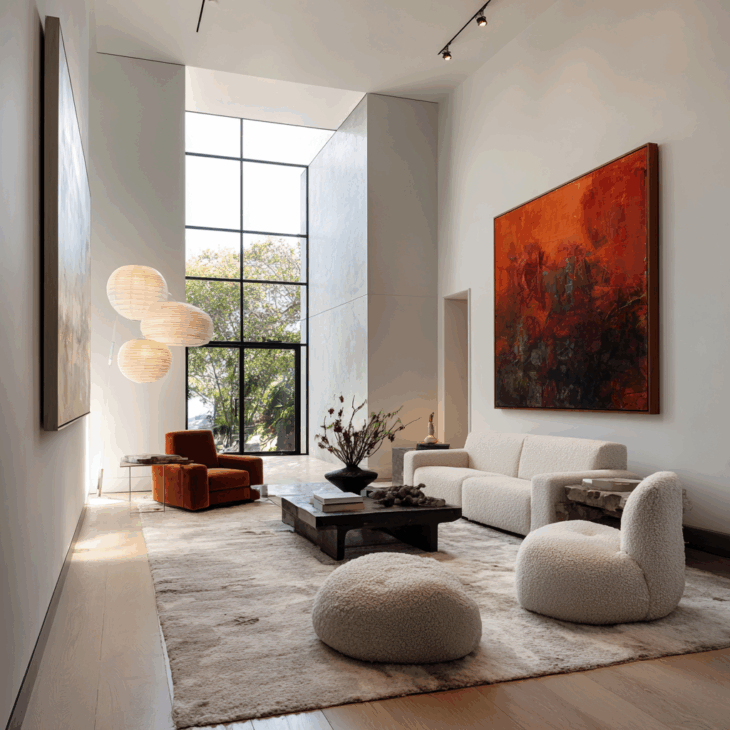
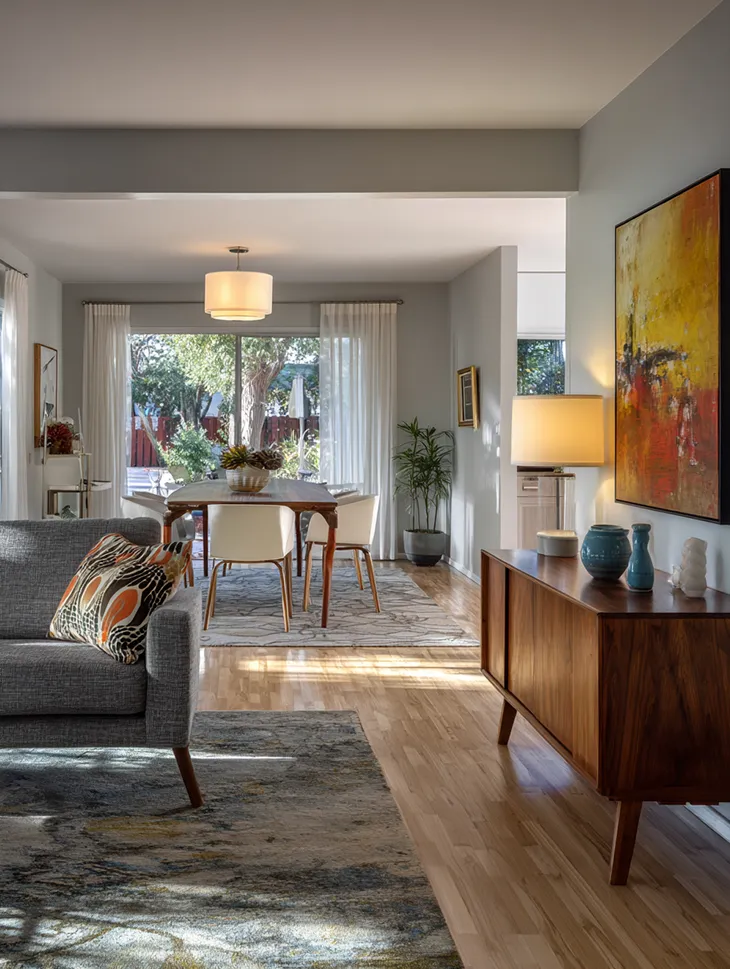
Step 2: Start With The Living Room
The living room is often where people notice lighting first. It is also the place where overhead light alone rarely works well.
Quick living room checklist
- Main fixture: Replace any small builder dome with a flush mount, semi flush, or chandelier that fits the room size.
- Lamps: Add at least one floor lamp and one table lamp to build layers.
- Bulbs: Choose warm or soft white bulbs around 2700 K to 3000 K for a comfortable feel.
- Dimmers: Add a dimmer to the main fixture if possible so you can shift from bright to soft light easily.
Once your living room feels balanced, you will have a reference point for the rest of the house.
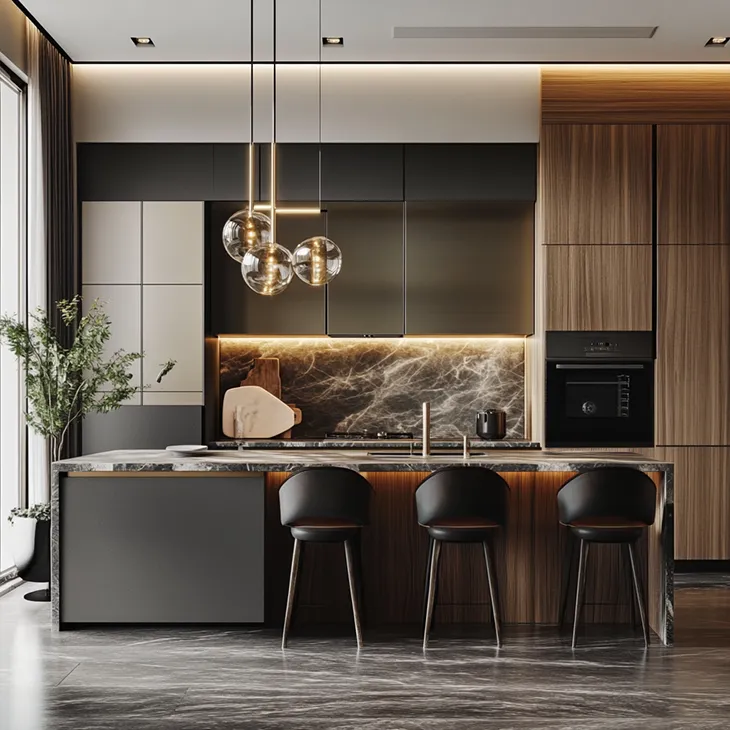
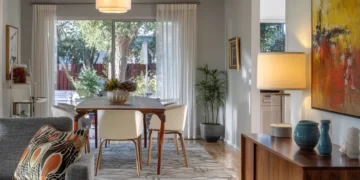
Step 3: Move To The Kitchen And Dining Area
Kitchen and dining lighting affects daily routines and any time you host guests. This is also where builder grade fixtures stand out the most.
Kitchen upgrades to focus on
- Ceiling lighting: Make sure recessed lights or main fixtures give even coverage across counters and walkways.
- Island or peninsula: Size pendants or a linear fixture to the length of the island so it does not look too small.
- Under cabinet options: Add hardwired or plug in strips to reduce shadows while cooking.
- Color temperature: Use neutral white around 3000 K to 3500 K to keep surfaces looking clean.
Dining space touch-ups
- Center the chandelier or pendant over the table, not just in the middle of the room.
- Hang the fixture so the bottom sits roughly 30 to 36 inches above the tabletop.
- Use a dimmer so the same fixture works for both everyday meals and special evenings.
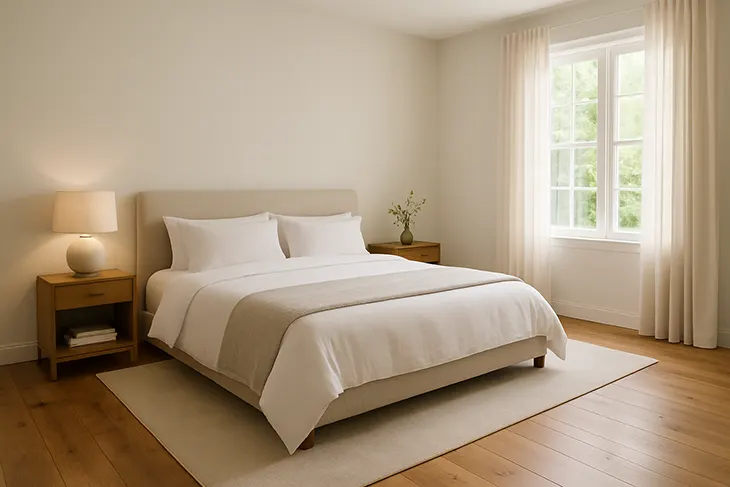
Step 4: Update Primary Bedroom Lighting
Many bedrooms still rely on a single overhead light that feels more like a utility room than a place to rest.
Bedroom upgrade plan
- Overhead fixture: Choose a flush or semi flush design that gives soft, even light.
- Bedside lighting: Add matching table lamps or wall mounted plug in sconces on each side of the bed.
- Bulbs: Use warm bulbs around 2700 K and avoid very cool light that feels like an office.
- Control: If possible, use separate switches or smart plugs so you can turn off overhead lights while staying in bed.
A calm bedroom lighting setup makes a big difference in daily comfort and sleep routines.
Step 5: Refresh Bathroom Vanity And Ceiling Lights
Bathroom lighting affects how you look in the mirror and how clean the space feels. Old or harsh fixtures can drag down an otherwise updated bath.
Bathroom lighting steps
- Replace very small or outdated vanity bars with a wider light that spans most of the mirror.
- Use bulbs around 3000 K to 3500 K so skin tones look natural and the room feels bright.
- Add a separate ceiling fixture if possible so the vanity lights do not have to carry the whole room.
- Make sure fixtures are rated for damp locations where required.
Good bathroom lighting does not need to be fancy, just bright, clean, and consistent.
Step 6: Fix The Foyer, Hallways, And Staircase
These spaces are often filled with the most basic fixtures, yet they connect every room. Small upgrades here help the whole home feel more put together.
Entry and hallway tips
- Replace tiny domes with flush mounts or semi flush fixtures sized to the width of the hall.
- Use similar finishes for all corridor lights so the view down the hall looks unified.
- In a staircase or tall foyer, pick a chandelier or pendant scaled to the ceiling height and floor area.
Once these connectors feel brighter and more consistent, the flow between rooms improves as well.
Step 7: Tackle Secondary Rooms Last
After the main living areas, kitchen, bedroom, bathroom, and circulation spaces, turn to home offices, guest rooms, and kids’ rooms. By this point, your overall style, bulb choices, and finish choices will already be clear.
Secondary room guidelines
- Reuse the same bulb color temperature you chose for similar rooms.
- Keep hardware finishes consistent so nothing feels out of place.
- Add task lighting where needed for reading, working, or hobbies.
Putting It All Together: Your Room-By-Room Lighting Roadmap
To keep things simple, you can follow this order:
- Define your overall lighting goals and preferred bulb color range.
- Upgrade the living room with layered light and a better main fixture.
- Improve kitchen and dining lighting for daily tasks and hosting.
- Create a calmer, more practical primary bedroom lighting setup.
- Refresh bathroom vanity and ceiling lights for clear, clean light.
- Replace basic fixtures in foyers, hallways, and stairs.
- Finish with home offices, guest rooms, and kids’ rooms.
Working one room at a time keeps the project manageable and gives you a clear sense of progress with each step.
Ready To Start Your First Room?
A full house lighting upgrade does not have to happen in a single weekend. By following a one-room-at-a-time plan, you can match fixtures to your routines, space, and budget without rushing decisions.
If you want ideas for chandeliers, pendants, flush mounts, and wall lights that fit into this kind of roadmap, you can shop lighting at Seus Lighting. As you move from one room to the next, a consistent set of well chosen pieces will help your lighting feel unified across the whole home.


