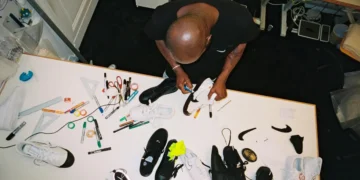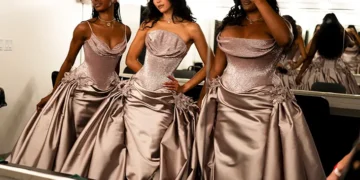



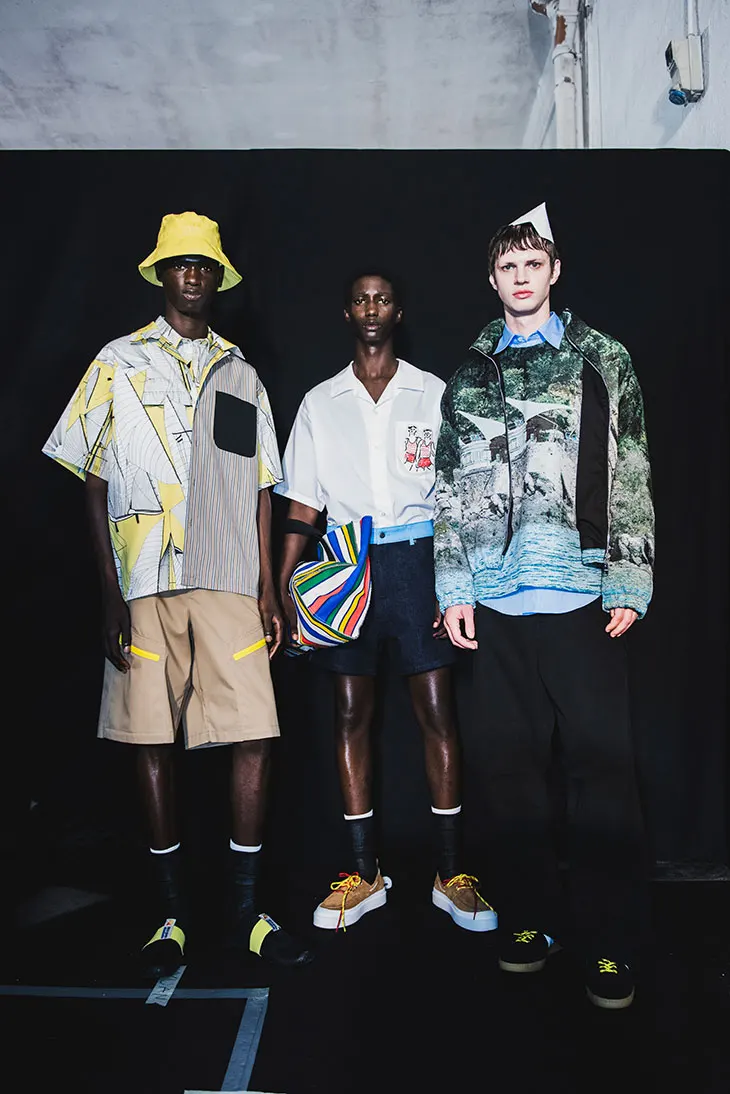
Most lookbooks die in the inbox. Not because the clothes are weak, but because the images arrive looking like everyone else’s. I’ve watched a stylist spend three weeks on a shoot and then hand the retouching to a default preset, and the campaign came back flat, safe, forgettable. The designers who escape that trap usually own one habit: they control the print, not just the file.
That habit starts with hardware. Studios that treat output as part of the creative direction tend to run their own large format printers rather than farming every proof to a lab, because the machine becomes another set of hands in the room. You can hold the color, change the paper, and reprint a poster the night before a show instead of begging a vendor for a rush slot. Here’s what I mean by owning the print, and how a studio builds that system without blowing a season’s budget.
Why Оutput Quality Is a Branding Decision
Walk through any fashion week presentation venue and the walls tell you who printed well and who didn’t. A show backdrop with muddy skin tones under warm light reads as cheap, no matter what the collection costs. A zine with orange-shifted blacks reads as careless. Buyers feel that before they can name it.
Print also carries legal weight most designers ignore until it bites them. If your campaign imagery incorporates a photographer’s work, a collaborator’s illustration, or licensed artwork, reproduction and distribution rights matter. The U.S. Copyright Office spells out how reproduction rights apply to creative work, and a print run is a reproduction. Know what you’re allowed to multiply before you multiply it. So the question isn’t whether you print as a fashion designer. It’s whether your prints look like a decision or an accident.
Paper, Ink, and The Aging Problem Nobody Plans For
Right after choosing a printer, choose your paper with the same seriousness you’d give a fabric. Coated matte holds fine detail and deep shadows, which suits editorial portraiture and dense typography. Uncoated stock drinks ink differently, giving softer grain that flatters textile-heavy still lifes. Glossy finishes pop saturated color but show fingerprints, which matters if a gallery or showroom will handle the prints.
Ink choice shapes longevity too. Pigment inks resist fading better than dye inks, and if you’re producing archival prints, meaning pieces meant to be collected, framed, and kept for decades, materials research is not optional. The Smithsonian Institution has long studied how light, humidity, and material quality affect the survival of printed and photographic works, and its material conservation guidance applies to the same decisions a design studio makes when choosing paper and display conditions. Hang a print in direct sun and you’ve already shortened its life.
My stance: never proof on the cheap paper and then switch to the good stuff for the final run. The color shifts and you’ll chase it for a week. Pick the stock first, calibrate to it, and stay there for the whole project.
Setting Up a Studio Print Room Without Wasting Money
You don’t need a huge setup. You need the right setup for your volume. Work through it in this order.
- Match the machine to your largest real job. If your biggest output is an A2 poster, a 24-inch printer is plenty. If you produce banners, backdrops, or full-size exhibition panels, you’re looking at 44-inch and wider machines. Buy for the 90th percentile of your work, not the dream project.
- Build one profile per paper and lock it. Create a color profile for each stock you use regularly, name it clearly, and stop fiddling. Consistency beats perfection.
- Proof at final size, small and large. A thumbnail hides banding. A full-size proof reveals it. Do both.
- Track ink and head health monthly. A clogged nozzle ruins a run quietly. Print a test pattern, not a campaign, to find out.
- Store finished prints flat and dark. Curled corners and UV exposure undo good printing faster than bad printing ever did.
One more thing outsiders miss: printmaking is a real job with real wages, and the people running these machines aren’t button pushers. According to the Bureau of Labor Statistics, printing and related support occupations employ a substantial share of the manufacturing workforce in the United States, and the skills involved, from color management to press operation, take years to build. If you hire someone to run your studio printer, pay them like the technician they are. You’ll get fewer ruined runs and better color.
Proofing Workflow That Actually Catches Problems
A proof is not a print you make after the decision. It’s how you make the decision. Here’s the sequence I’d use for any campaign with a physical component.
- Calibrate your monitor and set a soft-proof view before you touch a file.
- Print a test strip of skin tones, fabric detail, and typography together, on the actual stock.
- Check it under the light it will live in, not just your desk lamp. Gallery light and store light are different animals.
- Adjust once, then commit. Endless tweaking eats the schedule you need for binding, mounting, and shipping.
A fashion house doing 4 lookbook print runs a year has a different problem than a furniture studio printing 40 product sheets a month. The studio printer that works for the first will bury the second. Get honest about volume before you spend.
What Separates a Signature Print From a Template
Two things I’ve never seen an outside vendor replicate, because they live in the room, not in a service agreement. First, a studio’s own proof ledger. That’s a running record of which paper, profile, and settings produced which result, kept by the designer who ran the machine. After six months, it’s a private color language no competitor can buy. Second, in-house test prints from failed runs. Hang them on the wall. Study what went wrong. That visual archive trains your eye faster than any tutorial, and it’s yours alone.
Neither of those things scales through outsourcing. That’s the entire point of printing in-house, and it’s why I’d rather a young studio spend on one solid machine and a paper profile than on two rounds of rush fees at a lab that doesn’t know their palette.
Where To Start This Week
Pick your largest real job size, choose one paper, build one profile, and run a single full-size proof. That’s it. Everything else, the test strips, the proof ledger, the wall of failed prints, grows from that first controlled run.
Ask yourself one question before your next campaign ships: if a buyer held this print in their hands tomorrow, would they know it came from your studio without reading the label? If not, the machine in the corner is sitting idle.